Instead of heating and waiting, butter is a totally raw food.
Also unlike yogurt and cheese, butter is a good workout.
Step 1: get some heavy cream (I used raw from the farmers' market and I highly recommend it)
Step 2: put it in a container with a good seal (I used a lock-n-lock container)
 Almost there in this picture
Basically, you first make whipped cream. When you continue shaking after the whipped cream, the cream gets thicker and then breaks down. Continued shaking results in butter and a special splash: buttermilk!
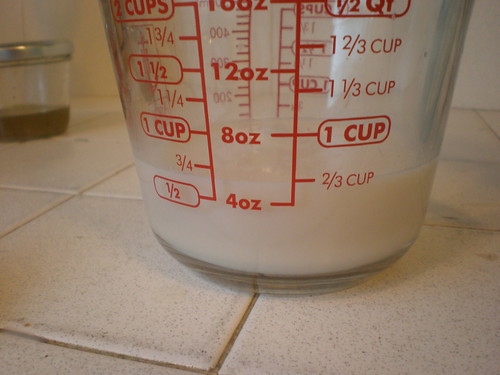 I didn't get quite as much buttermilk as I expected, but I was ok with that. My recipe called for 1 cup of buttermilk, but I was able to make up for the lack by mixing some leftover cream with water and a squeeze of lemon juice. Ideally, 1 pint of cream, like I had, should yield 1 cup of butter and 1 cup of buttermilk, but I think I got the better part of the deal -- extra butter!
 After the butter has clumped up, drain off the buttermilk. As you can see, I saved it in a measuring cup and carefully refrained from guzzling it myself, but you might not have the same glorious willpower. You're not done just yet, though.
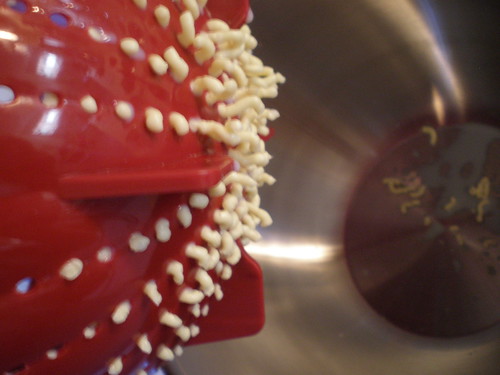
Throw your butter into a bowl and pour in some water. Knead the butter and dump out the water. Continue this process until the water is clear. Why? You're rinsing off excess buttermilk. If you were to leave it on there, the butter would go off much more rapidly and you'd be left with nasty rancid butter. For my rinsing step, I actually used a colander, but it was a lousy choice, as the picture below demonstrates.
Overall, making butter is easy, sort of fun, and definitely quite an experience. Probably a good science experiment for children, but I don't know the actual science behind the cream to butter process, so I probably won't be using it as a lesson any time soon. Do you know the science behind butter? I've got an interview for Teach for America coming up, and I could use a great mini-lesson. Props are encouraged and I'm sure they wouldn't turn up their noses at some butter time.

